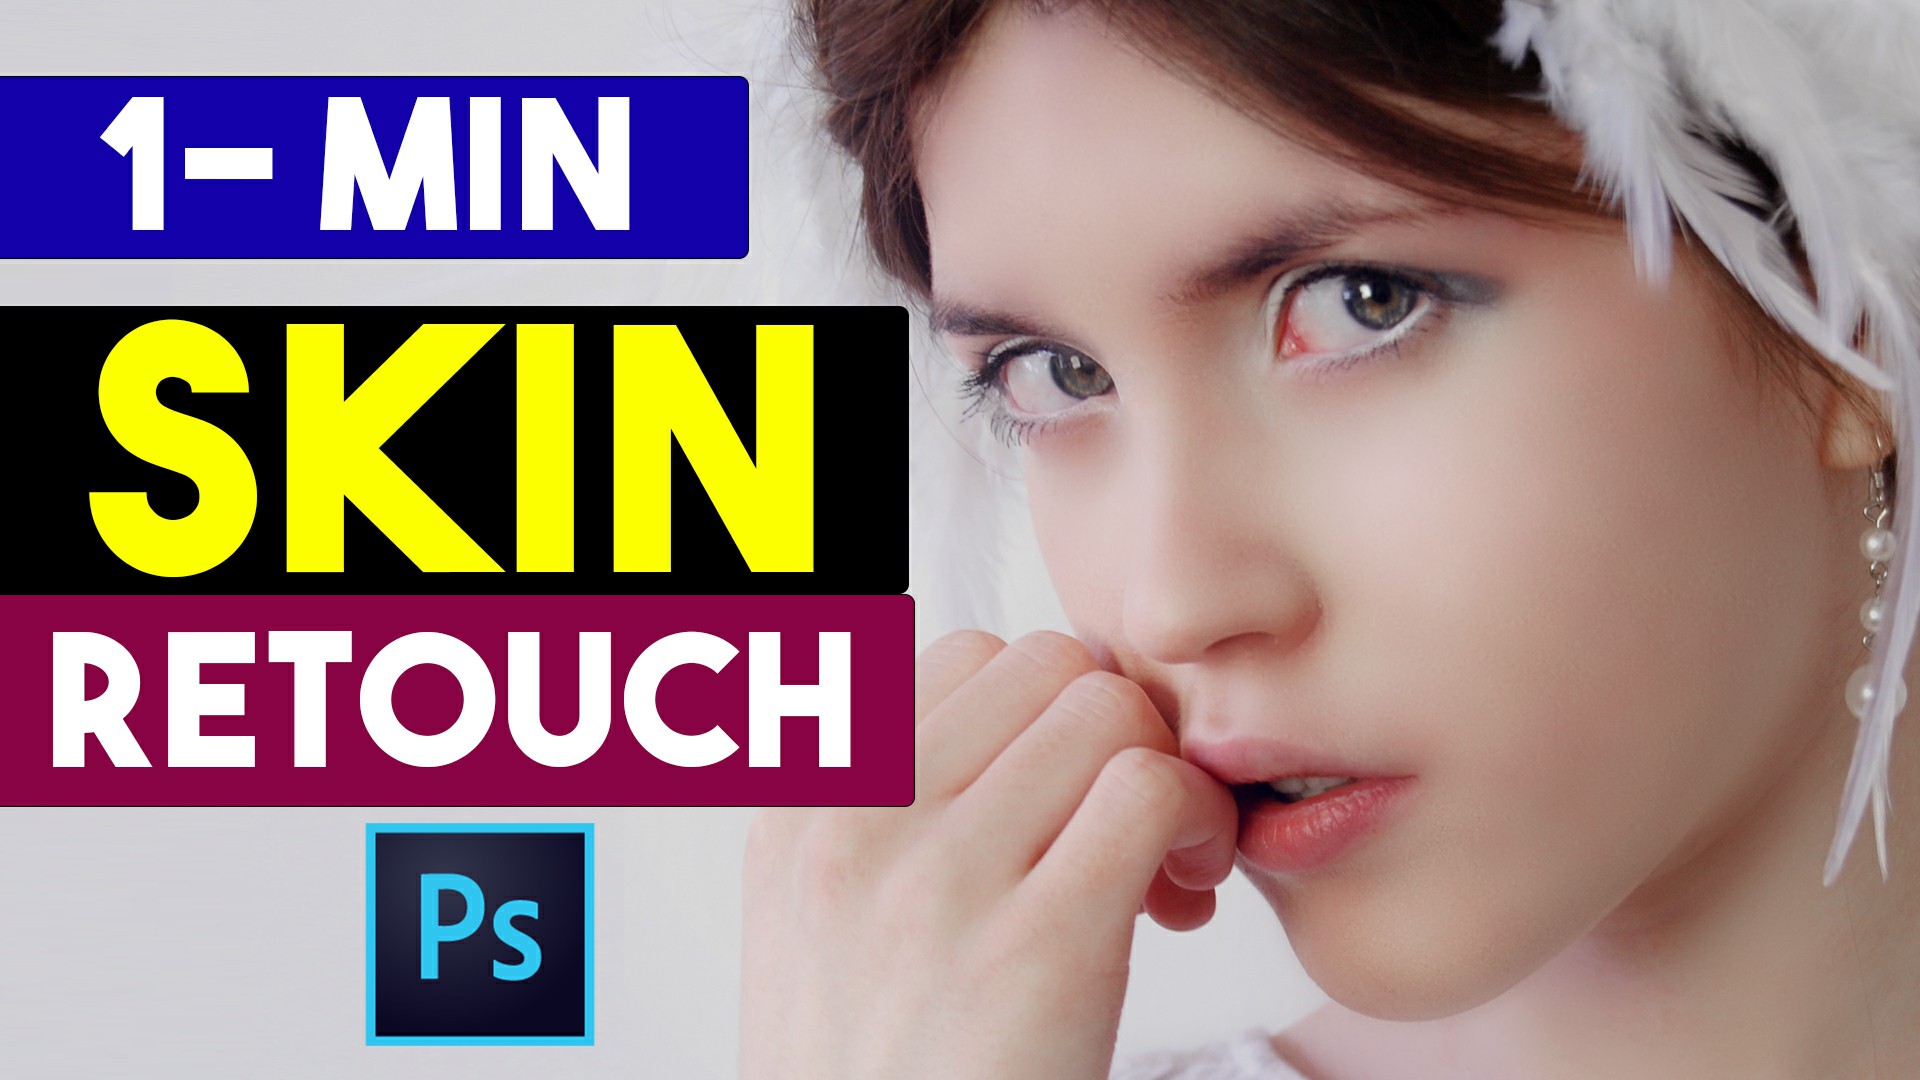
1 Min Magic Skin Retouching Actions in Photoshop CC
Create and Download High fashion skin retouching photoshop action like a pro with these Photoshop retouching actions and airbrush skin with one. It also includes retouching actions. Download Magic Retouch skin Photoshop Action in ATN format. Watch and see my instructions and retouch your images quickly and professionally.How to Create Amazing Magic Skin Retouching Actions in Photoshop CC. You can easily Retouch skin by this 1-Click Photoshop Actions.
What is Photo Retouching?
Photo retouching is the process of altering an image to prepare it for the final presentation. Retouches typically perform actions that are small localized adjustments to an image. Once the white balance, cropping, and color profile have been created a retouch will focus on adjusting other elements of an image. The terms ‘editing’ and ‘retouching’ are used quite often in the
photography world, but can mean wildly different things.
Photo Retouching for Portraits?
In the case of a portrait, the retouches might mask blemishes, smooth skin, and whiten teeth. They may thin the face or enhance the eyes. They may also perform actions like changing hair color or enhance the body of the model. For product photography, a retouch might repair a damaged box.
Step 2:
How to Create Photoshop Actions Step by Step?
Step 1:
At first, open your Photoshop then open your photo, then go to the window menu then actions.
Here now click on create a new set. Give your actions set name and OK.Step 2:
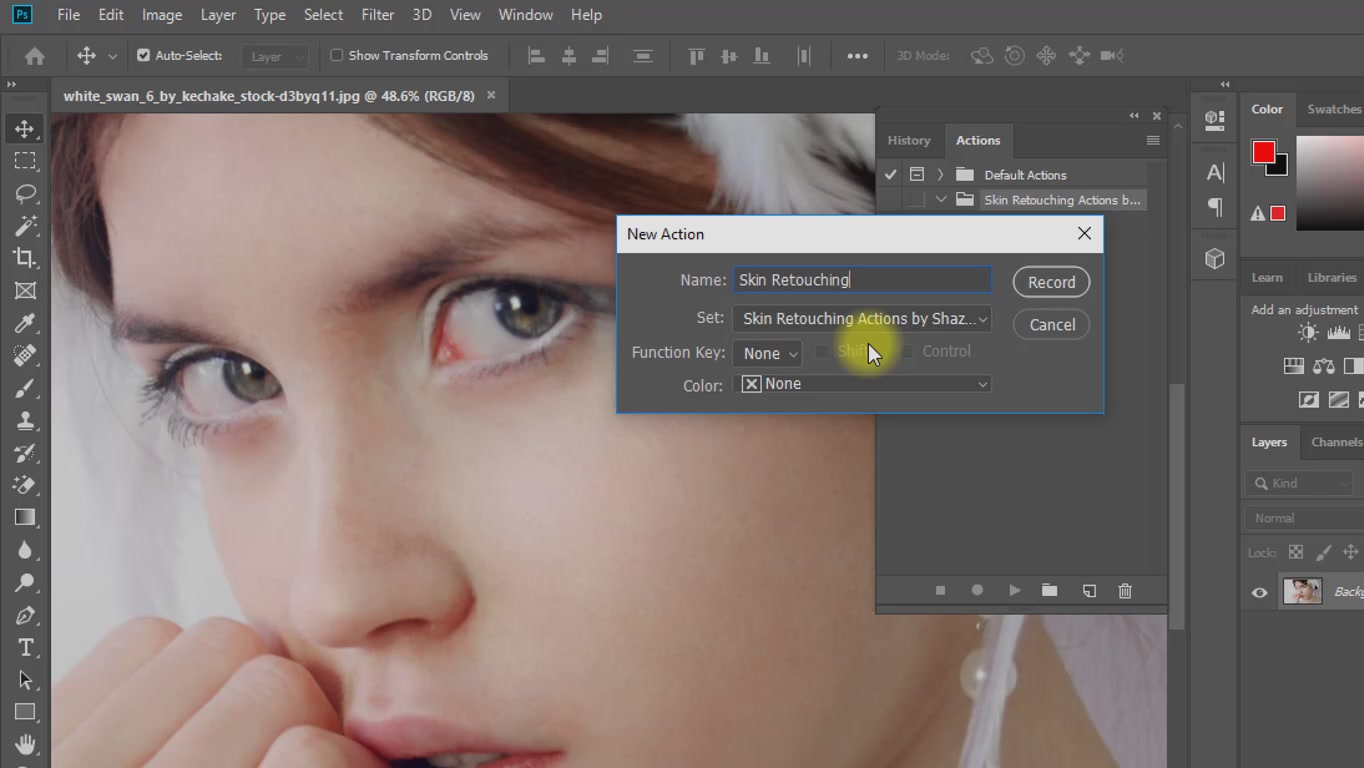
Now click on create new actions icon. Give your actions name then click on record. this time all step by step work will be recorded.
Step 3:
At first Press Ctrl+ J two times for layer copy. Here 1st layer renamed to Skin texture. And 2nd layer renames to Softening. Now mouse right clicks and convert to smart object.
Step 4:
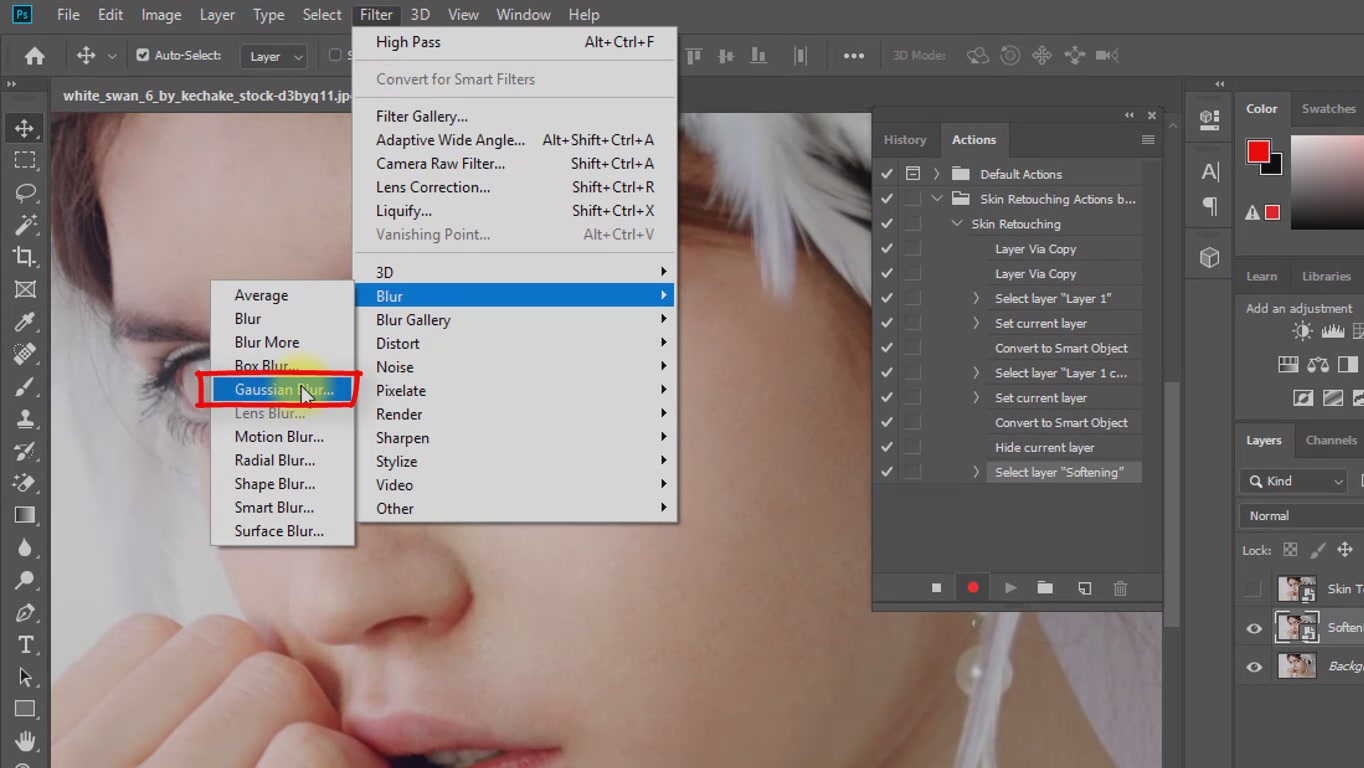
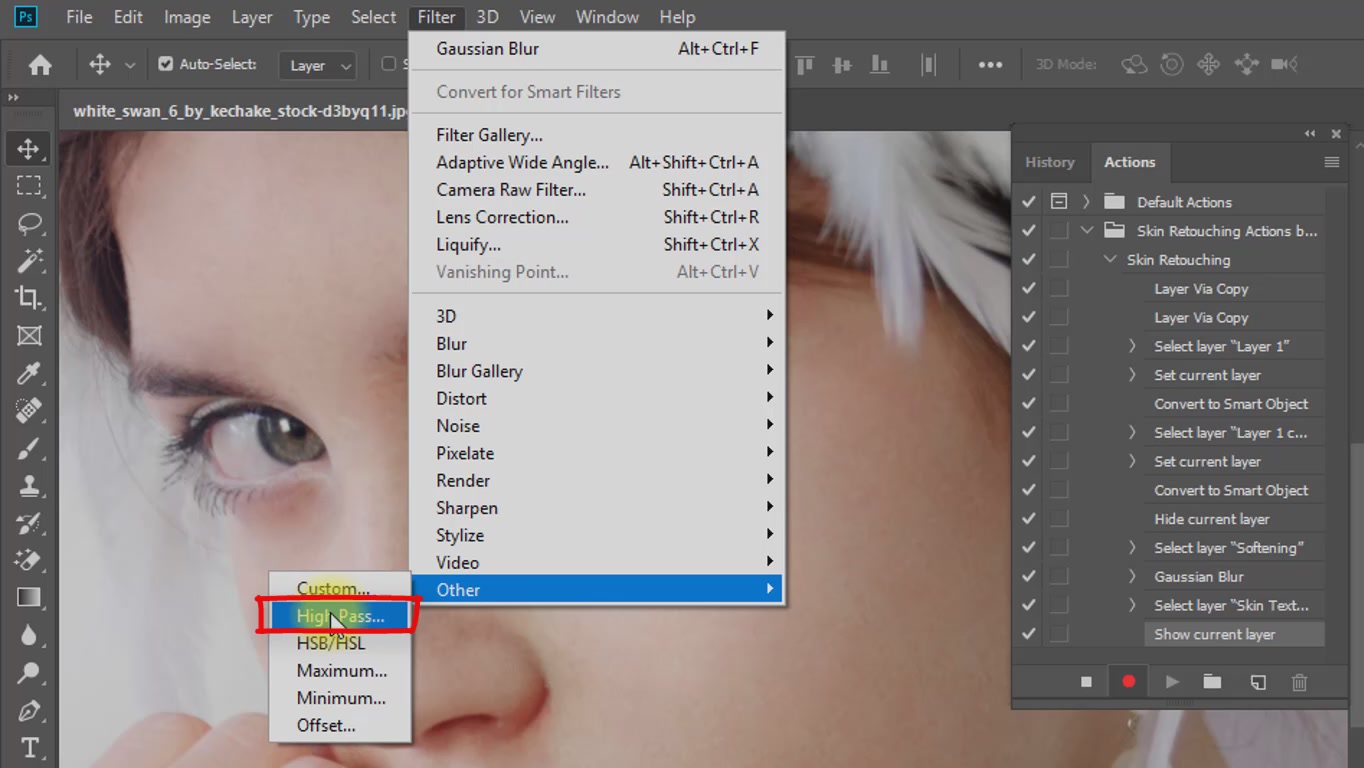
Now firstly Off skin texture layer and select softening layer and go to filter then blur then Gaussian blur. Given the radius 12 pixels then click on OK. This time Active your top skin texture layer. Then go to filter than other then High-pass. Here given high-pass radius 5 pixels then OK.
Step 5:
Must be from blending mode select to overlay. Now hold press Ctrl key and select two layers. And Press Ctrl + G for the group. Double click on the group and rename the group name.
Step 6:
Now Hold press alter the key and select the group and click on the mask for negative masking. Now select brush tool and select foreground color are white. And background color selection to black. Now finally click the stop recording icon to stop the recording of the action.
Step 7:
Step 7:
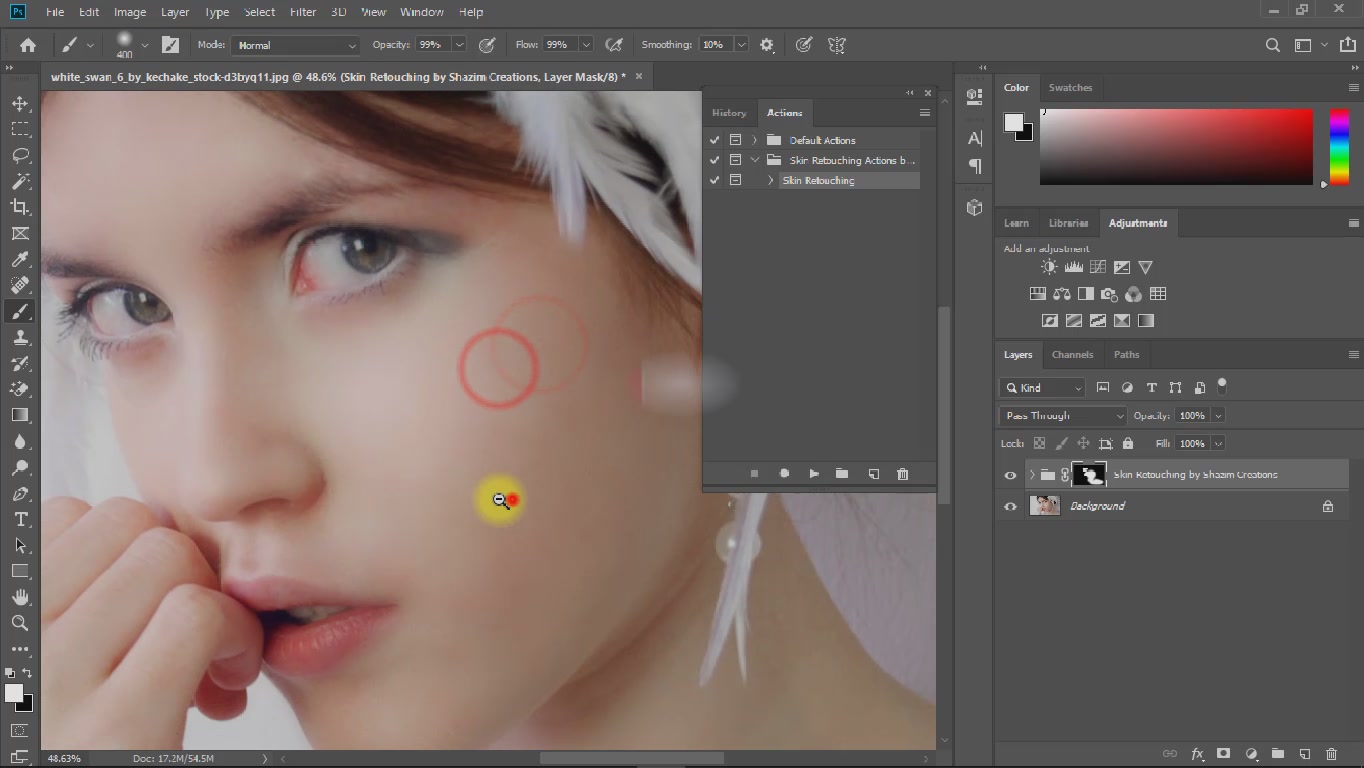
Now you can use these created actions. So, delete the other layer. Just keep your photo layer. And select your created actions and just click on play options for automatically created all working steps. And now you can easily retouch your skin.
Step 8:
Expand your skin retouching actions and search Gaussian blur and high-pass. And just click on the left box. That means it will be asked to you Gaussian blur and high-pass radius. You can save these actions easily. And any time you can load these actions for lifetime use. Thanks for Watching!
Working Screenshots Below:
See Another related post
>>1 Click Skin Retouching Free Photoshop Actions
>>Advance colorful digital painting in Photoshop
SHARE THIS POST FOR MORE UPDATES
1. Magic Skin Retouching Free Photoshop Actions Download
2. Magic Skin Spot Remover Photoshop Free Actions Click here to Download
3. Model Image Click here to Download
Hence if you still don't understand How to Create Magic Skin Retouching Actions in Photoshop CC then just play ours below YouTube video tutorial. Just follow what I did in the video. If you still haven't subscribed to our YouTube channel then do subscribe and press the bell icon to get the latest notification of my Photoshop tutorials for free.
Watch The Video Tutorial:
"Big ideas, Great results."
Shazim Creations
Thank You for Visiting!
Working Screenshots Below:
See Another related post
>>1 Click Skin Retouching Free Photoshop Actions
>>Advance colorful digital painting in Photoshop
SHARE THIS POST FOR MORE UPDATES
2. Magic Skin Spot Remover Photoshop Free Actions Click here to Download
3. Model Image Click here to Download
Hence if you still don't understand How to Create Magic Skin Retouching Actions in Photoshop CC then just play ours below YouTube video tutorial. Just follow what I did in the video. If you still haven't subscribed to our YouTube channel then do subscribe and press the bell icon to get the latest notification of my Photoshop tutorials for free.
Watch The Video Tutorial:
"Big ideas, Great results."
Shazim Creations
Thank You for Visiting!





0 Comments